Welcome to part three of our series on making a pony stock.
You can find the previous two tutorials here:
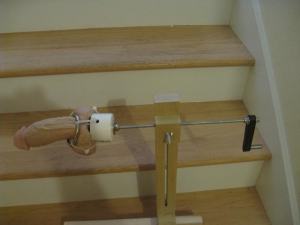
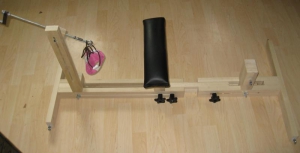
This time we're going to make an adjustable, crankable attachment point for the stock. We'll also come up with a way to attach a dildo and a parachute.
- 1 - 1" x 2-1/2" x 18" Poplar
- 1 - 1" x 2-1/2" x 5" Poplar
- 2 - 1" x 2-1/2" x 2-1/2" Poplar
- 1 - 1/4" x 12" threaded rod
- 1 - 1/4" threaded rod connector
- 1 - 1/4" eye-bolt
- 1 - 1/2" x 1" x 4" hardwood (for crank handle)
- 2 - 1/4" nuts
- 4 - 1/4" locking nuts
- 4 - washers
- 1 - 1/4" threaded insert (like we used to build the stock)
- 1 - 1" spacer – I used steel, but any metal or plastic hollow tube will work. You could also drill a hole lengthwise through a wooden dowel.
- 1 - 1-1/4" steel screw
- 1 - 2″ OD PVC pipe cap
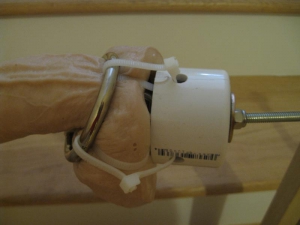
- zip ties
- a dildo with a flared base or "balls"
- a steel ring that will fit around the dildo
- Table saw (or some other method for cutting the wood to size
- Router with 1/4" straight cutting bit
- Drill press or hand drill with assorted drill bits (including 5/16", 1/4", 11/32", and 1/16" drill bits)
- 1/4" chisel
- Wood Rasp (optional)
- 120 - 220 grit sandpapers
- Wood Glue
- Clamps
Adjustable Crank Post
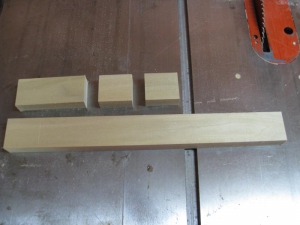
First, we'll need to cut the four pieces of wood for our crank holder.
- 1 - 1" x 2-1/2" x 18" Poplar
- 1 - 1" x 2-1/2" x 5" Poplar
- 2 - 1" x 2-1/2" x 2-1/2" Poplar
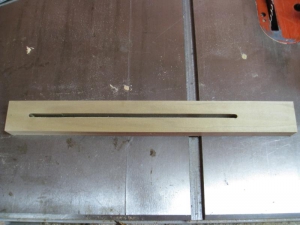
Route a slot down the center of the long piece. We've done this in the previous two tutorials, so you should be well versed with the technique.
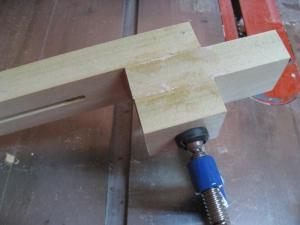
Once the glue has dried, sand everything smooth.
You'll also need to drill a 5/16" hole in the center of the tab. Again, see the previous tutorials for a more thorough explanation.
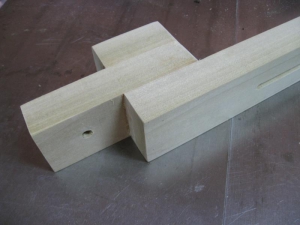
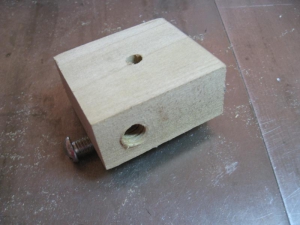
Now, we'll work on the part that supports the threaded rod.
Drill a 5/16" hole through the center of the piece.
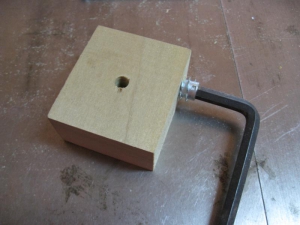
Then drill an 11/32" hole 3/4" deep 3/4" from the end on one side of the piece. Using a 5/16" bit, finish the hole all the way through the piece of wood. This hole is for the threaded insert.
Using and allen wrench, screw the threaded insert into the hole.
At this point, you can also attach this piece to the slotted piece using a 1/4" bolt, washer, and star knob (or a custom knob like we made in the previous tutorial, or even a wing nut)
Crank Handle
Next, we'll work on the crank handle.
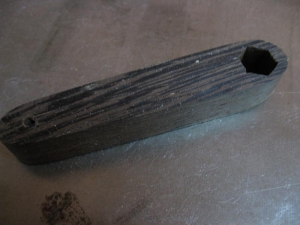
On the 1" x 4" piece of hardwood, draw a center-line. Also, mark the center of the piece. Mark points on the center-line 1-1/5" from the center. The points should be 3" apart. On one of the points, drill a 1/16" in pilot hole through the piece of wood. On the other end, drill a 1/4" hole. Using a sharp 1/4" chisel, flatten out the edges of the hole so that it forms a hexagon that a 1/4" nut will just slide through. You want a pretty tight fit.
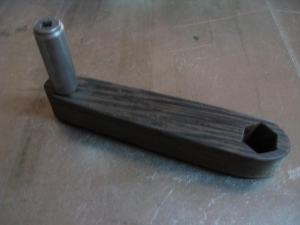
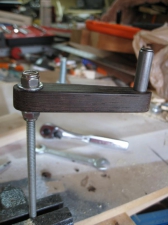
When you're done, taper the piece and round over the ends as shown in the photo.
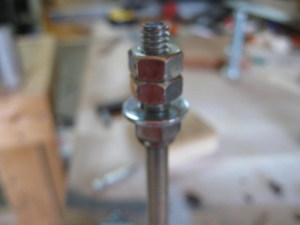
Screw a locking nut approximately 1" onto the threaded rod. Add a washer followed by two regular nuts.
Slide the crank handle over the regular nuts. Add another washer and finally another locking nut.
Make sure that everything is tight, but don't over-tighten. You'll split the crank handle.
You can go ahead and screw the threaded rod through the holder that you just finished making.
Dildo Holder
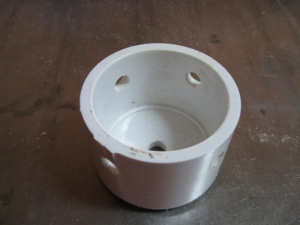
First, drill 4 equally spaced 1/4" holes around the perimeter of the PVC cap approximately 1/2" from the edge.
The drill a 5/16" hole through the center of the cap.
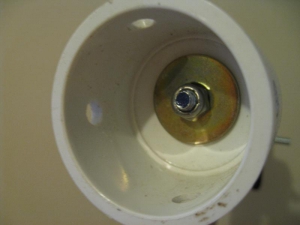
Here's a view from the inside.
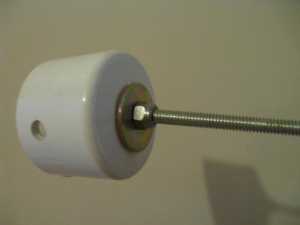
You want to tighten the nuts so that the PVC cap is sturdy but still able to spin on the rod.
Ring Attachment
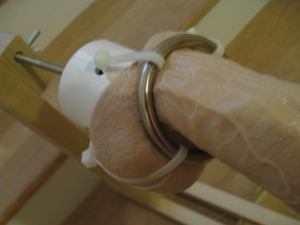
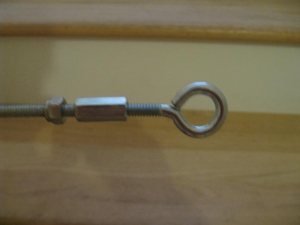
Take off the dildo holder, and attach the eye bolt using the threaded rod connector.
I've left one of the locking nuts on in this photo. It doesn't interfere and they are kind of a pain to take on and off.
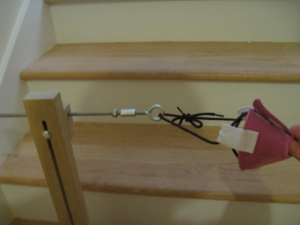
Here it is with a parachute attached.
In reality, you would probably want some kind of swivel connector between the parachute and the eye bolt.
